creating a glossy icon , creation une icone brillant in photoshop: Retrouvez notre sélection de logiciels Internet sur 7h24.blogspot.com! Téléchargement de logiciel gratuit : Internet pour Windows, shareware en version complète ou d'évaluation. Des tutoriels informatiques et astuces pour optimiser votre ordinateur.
creating a glossy icon , creation une icone brillant in photoshop
 In this tutorial you will going to learn how to create a grossy effect in icon with photoshop. :)
Then create a circle with Elipse Tool ( U ) and holding shift key.

Reado More ...
Ok , so now apply same blending option to the layer:
Gradient Overlay
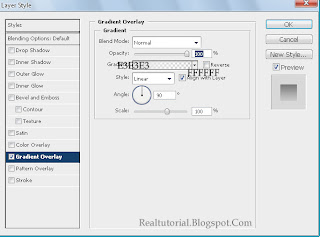
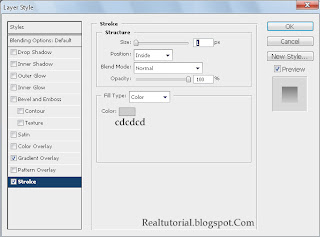

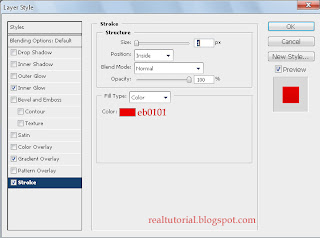
Now apply blending option to this second circle layer:
Inner Glow
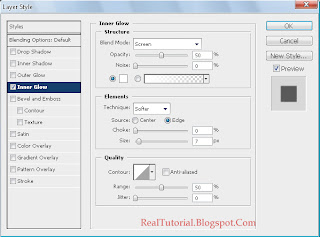
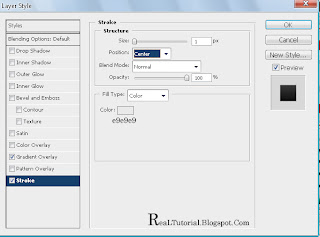
Stroke:
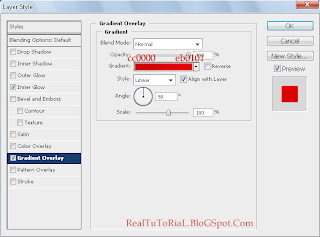
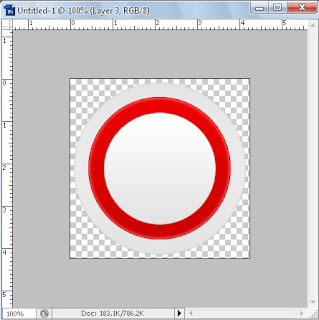
It’s time to add our final circle just we did with the previous ones, but we’ll create the last one inside the red so it looks something like this:
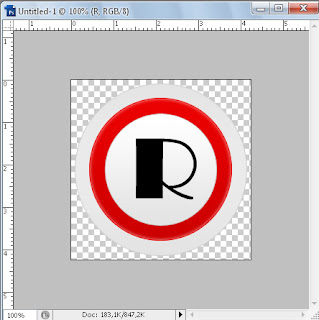
Now we’ll going to add some text inside the circle, draw it in the center of the circle just as i did:
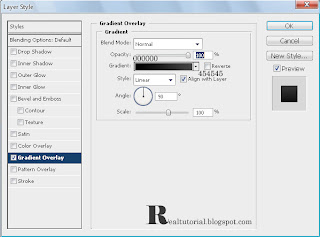
*Gradient Overlay
*Stroke


Now you have a great glossy icon is ready.
If you need help with the tutorial, you can leave a comment using the link just below.
creating a glossy icon , creation une icone brillant in photoshop


